Building React Firebase Chat (Fire Chat) Part 2
King Somto
19 Jul 2021
•
8 min read

Introduction
In this article, we will be looking at creating a React firebase chat application making use of firebase's amazing functionalities and real-time database. We will also take a look at authentication using firebase helper functions.
Prerequisites
We will be making use of a previous tutorial written by me as a base for this article, in this article we were able to build a basic react chat application with firebase, this article aims to expand on that project, in case you don't feel like going through the article you can just download the project from this repo.
Here we will be expanding on the previous article by building in an email registration / login feature that lets chat users create accounts and login which is a better solution than what we had available in the last application that lets users choose usernames whenever they open the app, which isn’t really a bad idea anyway.
Code
You can get the code from this link.
Run
npm install && npm run start
This command downloads the required libraries for our project.
Step 1. Building the Signup page Ui
In this step, you will create the signup page to enable users of the group chat to signup to their accounts. For our app to be able to have multiple pages like a separate login and signup route we make use of the React Route library, which can be downloaded with npm.
To begin install React-Router with npm.
npm install react-router-dom
Once this is installed we create a folder called routes with a file called index.jsx
mkdir routes && cd routes && touch index.jsx
Now add some content
import React from 'react';
import { BrowserRouter, Route, Switch } from 'react-router-dom';

function App() {
   return (
       <div className="wrapper">
           <BrowserRouter>
               <Switch>
                   <Route path="/signup">
                       {/* signup component */}
                   </Route>
               </Switch>
           </BrowserRouter>
       </div>
   );
}

export default App;
Editing our app.js file to import our router code.
import Router from './routes'
import React from 'react';
function App() {
 const [name,setName] = React.useState()
 return (
   <div className="App">
     <Router/>
   </div>
 );
}
export default App;
This makes our Router file called directly in our app.js component which gives it control over the app.
Now we create our signup component route.
cd routes && touch signup.jsx
And paste this content
import React from 'react';
import style from 'styled-components';
const SignUp = () => {
const Component = style.div`
width: -webkit-fill-available;
height: 100vh;
position: absolute;
.wrap{
text-align: center;
max-width: 90%;
margin: 15vh auto;
width: 450px;
height: 350px;
padding: 13px 50px;
text-align: left;
}
input{
width: -webkit-fill-available;
height: 40px;
padding: 10px;
border: 0;
border-radius: 7px;
font-size: 20px;
font-weight: 300;
}
button{
width: -webkit-fill-available;
margin-top: 35px;
height: 49px;
border-radius: 10px;
border: 0;
font-size: 20px;
}
`;
return (
<Component className="">
<div className="wrap">
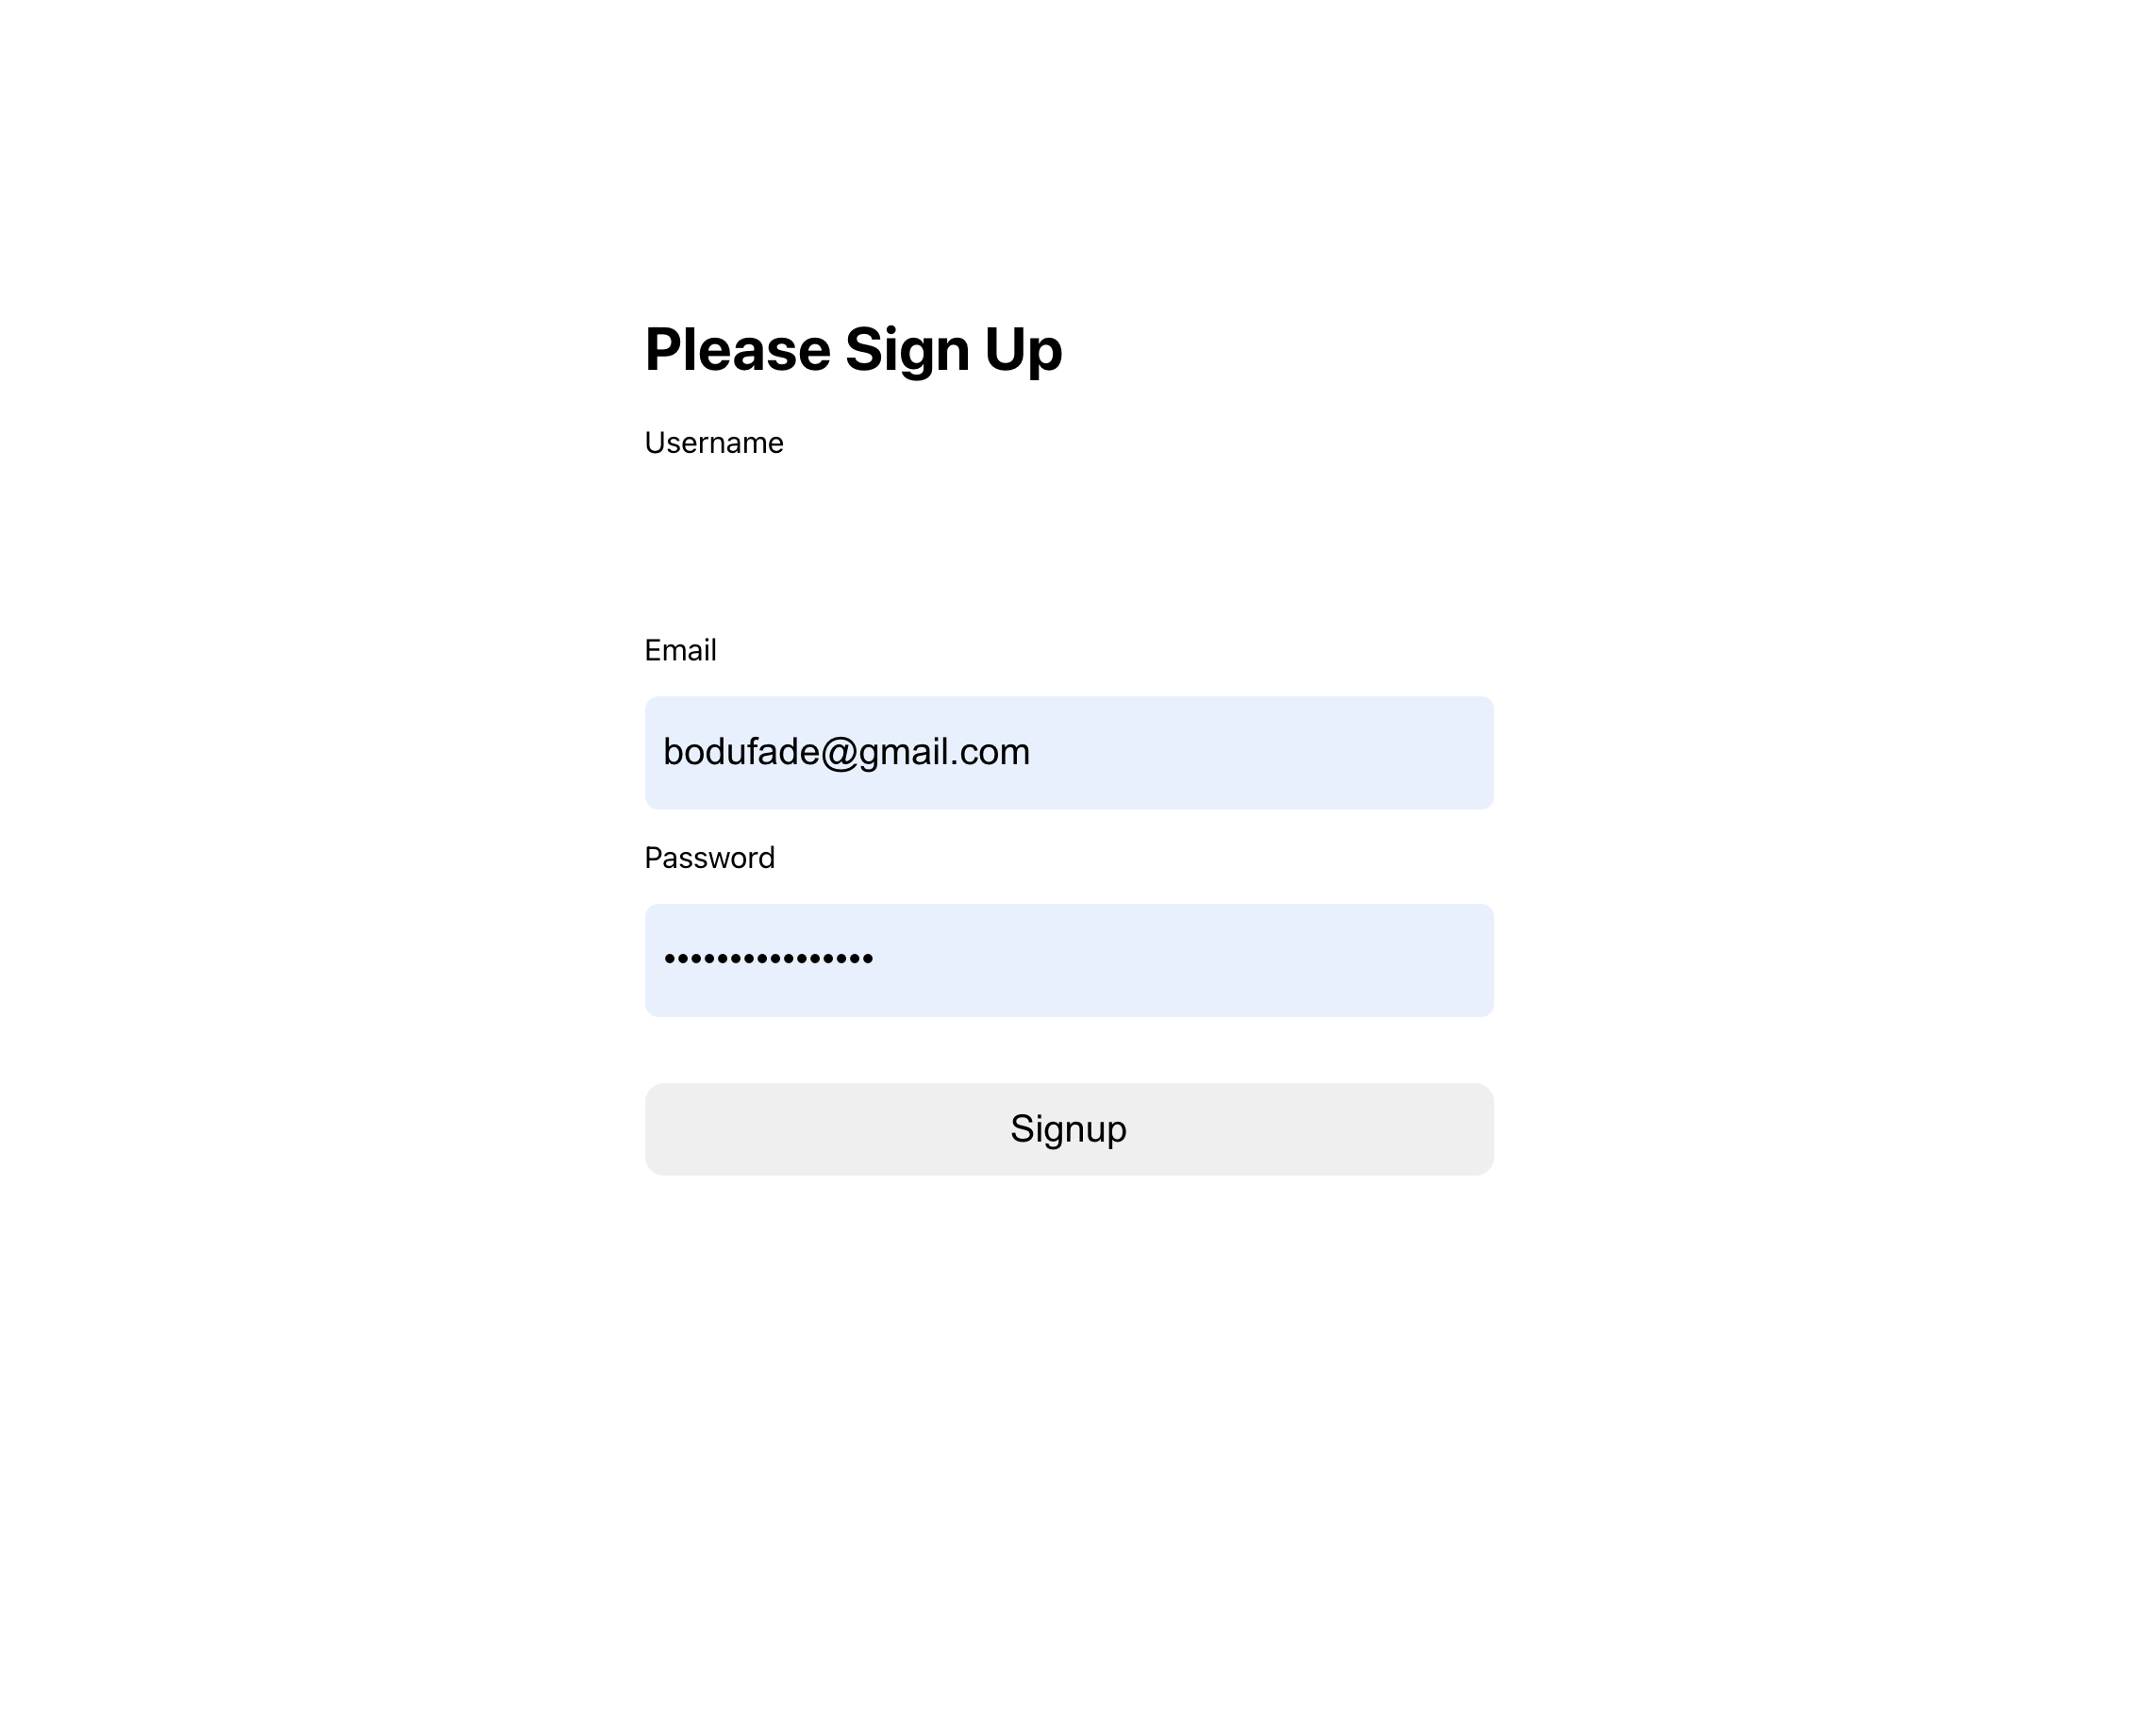
<h1>Please Sign Up</h1>
<form>
<label>
<p>Username</p>
<input type="text" />
</label>
<label>
<p>Email</p>
<input type="email" />
</label>
<label>
<p>Password</p>
<input type="password" />
</label>
<div>
<button type="submit">Signup</button>
</div>
</form>
</div>
</Component>
);
}
export default SignUp;
Now let's go to http://localhost:3000/signup
We can see our component
Step 2. Adding our Signup Logic
In this section, we will be adding the firebase sign-up logic in our signup component. We make use of the firebase auth function which enables us to call functions like createUserWithEmailAndPassword which is a function for creating a user with email (like the name implies).
Editing our Firebase Connection
To get access to this function we need to open up our firebase config file and make edits to it, the config file can be found inside the config folder.
Open config/firebase.js and make the following edits to the end of the file
*****
export const auth = firebase.auth();
export const firestore = firebase.firestore();
*****
This exports the auth and firestore modules that we need to signup a user and store user information.
The next step would be to edit the signUp route to add the signup process after submitting the form
Making the following edits to the form component.
*****
   const inputHold = React.createRef({})

*****
 <form onSubmit={async e => {
                   e.preventDefault()
                   try {
                       const { user } = await auth.createUserWithEmailAndPassword(
                           inputHold.current.email,
                           inputHold.current.password
                       );


                       ///storing the user in a user collections

                       const userRef = firestore.doc(`users/${user.uid}`);
                       const snapshot = await userRef.get();

                       if (!snapshot.exists) {
                           const { email, photoURL } = user;
                           try {
                               const savedData = await userRef.set({
                                   email,
                                   photoURL,
                                   userName: inputHold.current.userName
                               });

                               console.log(savedData);
                           } catch (error) {
                               console.error('Error creating user document', error);
                           }
                       }


                       console.log({ user })
                       alert('Signed Up')

                   } catch (error) {

                   }

               }} >
                   <label>
                       <p>Username</p>
                       <input onChange={e => {
                           inputHold.current = {
                               ...inputHold.current,
                               userName: e.target.value
                           }
                       }} required placeholder='Type username' type="text" />
                   </label>

                   <label>
                       <p>Email</p>
                       <input onChange={e => {
                           inputHold.current = {
                               ...inputHold.current,
                               email: e.target.value
                           }
                       }} required placeholder='Type Email' type="email" />
                   </label>
                   <label>
                       <p>Password</p>
                       <input onChange={e => {
                           inputHold.current = {
                               ...inputHold.current,
                               password: e.target.value
                           }
                       }} required placeholder='Type Password' type="password" />
                   </label>
                   <div>
                       <button type="submit">Signup</button>
                   </div>
               </form>

****
Let's break the function down
 const { user } = await auth.createUserWithEmailAndPassword(
                           inputHold.current.email,
                           inputHold.current.password
                       );
This calls the createUserWithEmailAndPassword function exported by firebase auth module. It takes in 2 params the email and password and uses that to create the user.
const userRef = firestore.doc(`users/${user.uid}`);
  const snapshot = await userRef.get();
We need to store the user username which the createUserWithEmailAndPassword function does not enable us to do that so we use firestore and store the extra details in a collection named users and using the user.Id as the documentID.
  if (!snapshot.exists) {
                           const { email, photoURL } = user;
                           try {
                               const savedData = await userRef.set({
                                   email,
                                   photoURL,
                                   userName: inputHold.current.userName
                               });

                               console.log(savedData);
                           } catch (error) {
                               console.error('Error creating user document', error);
                           }
                       }
We want to know if this user exists already else we just add the data else we call an error.
Step 3. Building Login
Rinse and repeat for creating the login component ui
Create a login.jsx file in the routes folder and paste
import React from 'react';
import style from 'styled-components';
const Login = () => {
const Component = style.div`
width: -webkit-fill-available;
height: 100vh;
position: absolute;
.wrap{
text-align: center;
max-width: 90%;
margin: 15vh auto;
width: 450px;
height: 350px;
padding: 13px 50px;
text-align: left;
}
input{
width: -webkit-fill-available;
height: 40px;
padding: 10px;
border: 0;
border-radius: 7px;
font-size: 20px;
font-weight: 300;
}
button{
width: -webkit-fill-available;
margin-top: 35px;
height: 49px;
border-radius: 10px;
border: 0;
font-size: 20px;
}
`;
return (
<Component className="">
<div className="wrap">
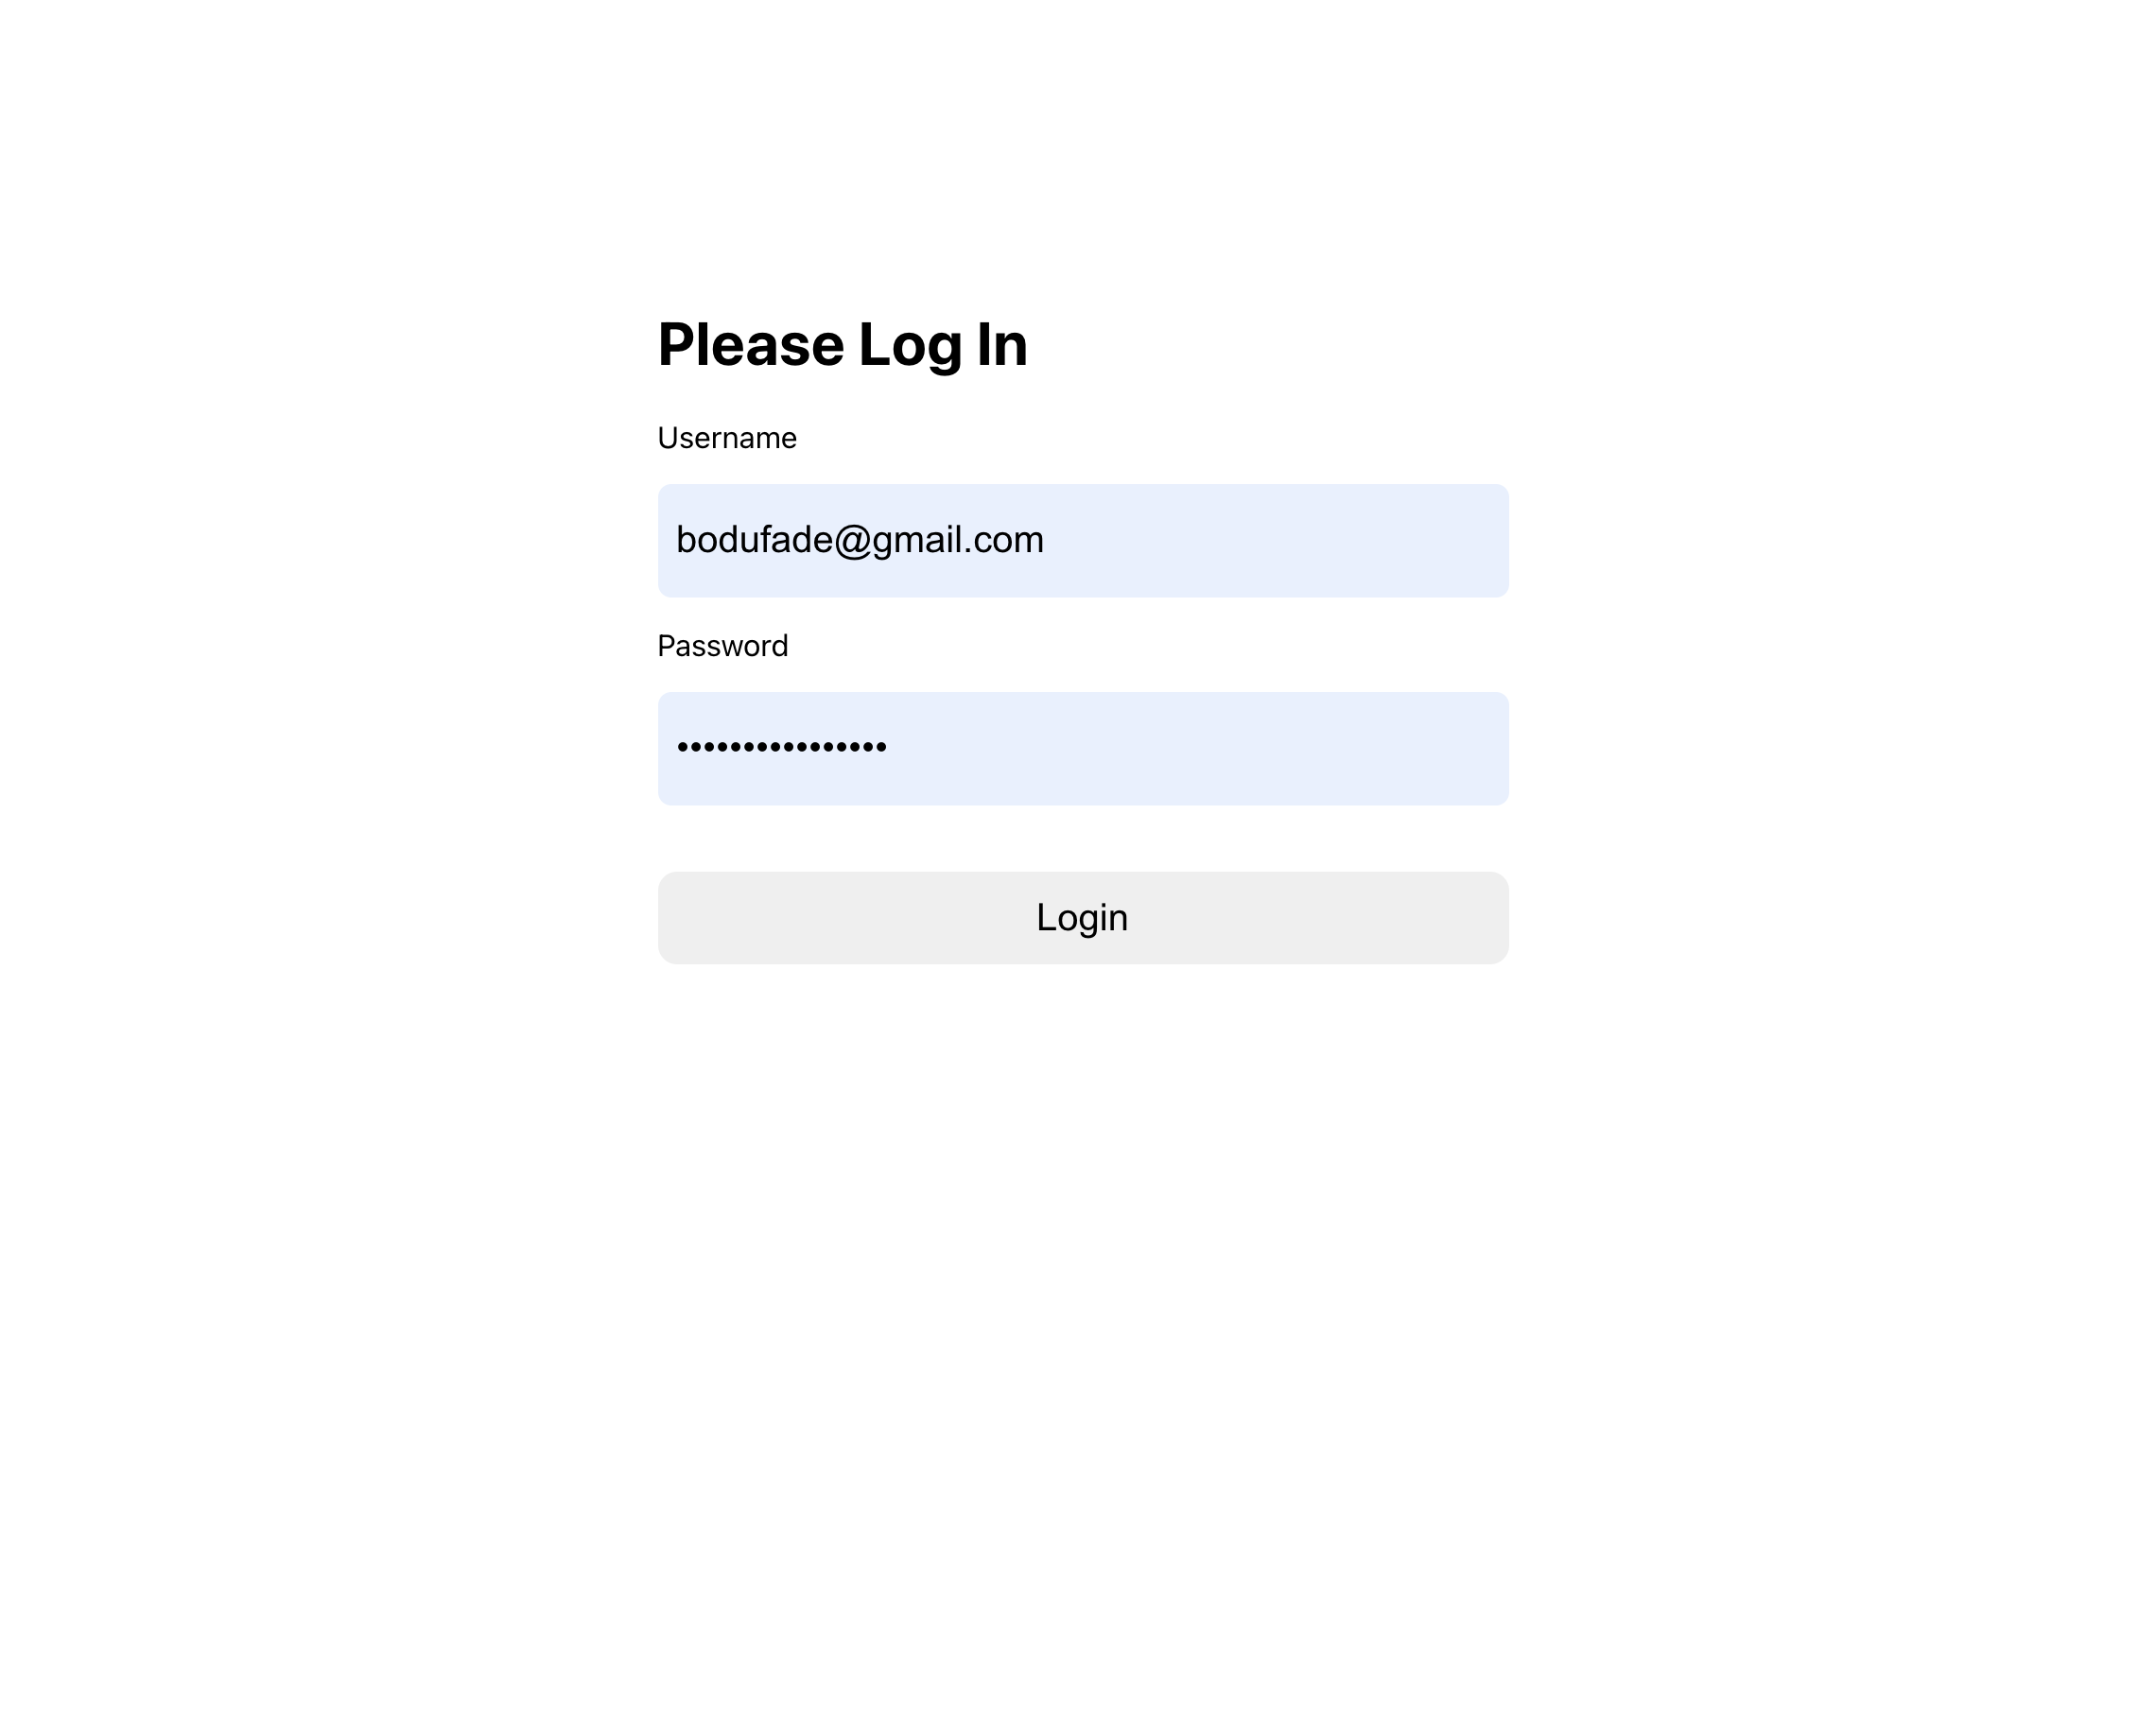
<h1>Please Log In</h1>
<form>
<label>
<p>email</p>
<input type="email" />
</label>
<label>
<p>Password</p>
<input type="password" />
</label>
<div>
<button type="submit">Login</button>
</div>
</form>
</div>
</Component>
);
}
export default Login;
And we get an output like
Step 4.
Now our login component Ui is done we want to add functionality to enable the page to Login and Save a user session locally.
const inputHold = React.createRef({})

   const onFinish = async (e) => {
       e.preventDefault()
       try {
           await auth.signInWithEmailAndPassword(
               inputHold.current.email,
               inputHold.current.password
           );
           alert('signed in')
       } catch (error) {
            alert('Error Signing In');
       }
   };

   return (
       <Component className="">
           <div className="wrap">
               <h1>Please Log In</h1>
               <form onSubmit={onFinish}
               >
                   <label>
                       <p>email</p>
                       <input onChange={e => {
                           inputHold.current = {
                               ...inputHold.current,
                               email: e.target.value
                           }
                       }} required type="email" />
                   </label>
                   <label>
                       <p>Password</p>
                       <input onChange={e => {
                           inputHold.current = {
                               ...inputHold.current,
                               password: e.target.value
                           }
                       }} required type="password" />
                   </label>
                   <div>
                       <button type="submit">Login</button>
                   </div>
               </form>
           </div>
       </Component>
Now let's break the changes into smaller bits so we can understand it a little better.
*****
 const onFinish = async (e) => {
       e.preventDefault()
       try {
           await auth.signInWithEmailAndPassword(
               inputHold.current.email,
               inputHold.current.password
           );
           alert('signed in')
       } catch (error) {
            alert('Error Signing In');
       }
   };
****
This is responsible for calling the signInWithEmailAndPassword function inside the auth library to sign in the user and triggers an error that is caught by the catch clause if the user cant be logged in.
Step 5. Guard routes 💂💂💂
Currently, anyone that has access to the app can have access to the chat component even when not logged in so we want to be able to know if a user is logged in or not before we can let the chat app route be called.
To do this we have to build a provider that updates the app whenever we have a user logged in or sign up.
To get a basic understanding of Providers check here
To create our user Provider we simply need to create a userProvider.js file inside a provider's folder.
mkdir providers && cd providers && touch userproviders.js
Now we can paste the following content.
****


import React, { Component, createContext } from 'react';
import {  auth } from '../config/firebase';

export const UserContext = createContext({ user: null });
class UserProvider extends Component {
 state = {
   user: 'loading',
 };

 componentDidMount = () => {
   auth.onAuthStateChanged((userAuth) => {
     console.log('userAuth====>', userAuth);
     this.setState({ user: userAuth });
   });

 };
 render() {
   return (
     <UserContext.Provider value={this.state}>
        {this.props.children}
     </UserContext.Provider>
   );
 }
}
export default UserProvider;


****
 state = {
   user: 'loading',
 };
We initialize the state and add a user object to it and set the value as loading.
componentDidMount = () => {
   auth.onAuthStateChanged((userAuth) => {
     console.log('userAuth====>', userAuth);
     this.setState({ user: userAuth });
   });
 };
The componentDidMount function helps us initialize a watcher to help us listen to whenever a user has been added.
render() {
   return (
     <UserContext.Provider value={this.state}>
        {this.props.children}
     </UserContext.Provider>
   );
 }
Our Render function renders the component and its child elements.
Step 6. Adding the userProvider to the app
To add the UserProvider to the app we have to call it in the app.js, so open up app.js and make the following edits.
import Router from './routes'
import React from 'react';
import UserProvider from './providers/userproviders';

function App() {
  return (
   <div className="App">
     <UserProvider>
       <Router />
     </UserProvider>
   </div>
 );
}

export default App;
Now we can edit the content in the index.jsx file in the route folder to
import React, { useContext } from 'react';
import { BrowserRouter, Route, Switch, Redirect } from 'react-router-dom';
import Login from './login'
import Signup from './signup'
import AppMessage from './container'
import { UserContext } from '../providers/userproviders';


function App() {
   const { user } = useContext(UserContext);

   if (user === 'loading') {
       return <p>Loading...............</p>;
   }
   return (
       <div className="wrapper">
           <BrowserRouter>
               {!user && (

                   <Switch>
                       <Route path="/login">
                           <Login />
                       </Route>
                       <Route path="/signup">
                           <Signup />
                       </Route>
                       <Redirect from="*" to="/login" />
                   </Switch>
               )}
               {user && (
                   <Switch>
                       <Route path="/app">
                           <AppMessage />
                       </Route>
                       <Redirect from="*" to="/app" />
                    </Switch>
               )}
           </BrowserRouter>

       </div>
   );
}

export default App;
This conditionally renders the login and signup routes if the user is not logged in but renders the chat app when the user is logged in using the user object passed in from the userProvider.
Lastly
Moving the container.jsx into our Routes folder from the Components folder and making the following edits so that it can depend on the userId for identification
import React, { useContext } from 'react';
import style from 'styled-components';
import { db } from '../config/firebase';
import Messages from '../components/messages';
import { UserContext } from '../providers/userproviders';
export default function Container() {
 const { user } = useContext(UserContext);
 console.log({user})
 const input = React.createRef('');
 const Box = style.div`

       .chatBox{
           background# cccfff;
           height:90vh;
           width:500px;
           margin:5vh auto;
           border-radius:10px;
           position:relative;

       }

       .textFooter{
           position: absolute;
           bottom: 0;
           display: inline-flex;
           width: 100%;
           left: 0;
       }

       input{
           width: -webkit-fill-available;
           height: 52px;
           border: 0;
           padding: 0 10px;
       }

       button{
           width: 60px;
           border: 0;
           height: 52px;
       }

   `;

 return (
   <Box>
     <div className="chatBox">
       <Messages  name={ user.uid} />
       <div className="textFooter">
         <input
           id="input"
           onChange={(e) => {
             input.current = `${e.target.value}`;
           }}
           type="text"
         />
         <button
           onClick={async (e) => {

               if (input.current.length===0) {
                   return
               }
             document.getElementById('input').value = '';
             await db.ref('chats').push({
               message: input.current,
               sender: user.uid,
             });

             var element = document.getElementById('messages');
             element.scrollTop = element.scrollHeight - element.clientHeight;

             input.current = ''
           }}
         >
           Send
         </button>
       </div>
     </div>
   </Box>
 );
}
Now we have been able to add user sessions with email and login with passwords into our application, next move would be to add more functionality to our application like multiple group chats and let users create new groups and invite other users.
Conclusion
We learned how to handle user sessions today with firebase and react using a context provider to handle user sessions and giving access to that data to all the components available, in coming chapters to this series we will be adding more functionality to our application like multiple group chats and image adding features.

WorksHub
Jobs
Locations
Articles
Ground Floor, Verse Building, 18 Brunswick Place, London, N1 6DZ
108 E 16th Street, New York, NY 10003
Subscribe to our newsletter
Join over 111,000 others and get access to exclusive content, job opportunities and more!