How I Cut My React JavaScript Bundle Size In Half With Three Lines of Code
Mario Hoyos
1 Mar 2018
•
3 min read


If you are anything like me, you love React. There is a group of people out there who believe that the library is too large for what it does (I disagree) but it never hurts to optimize your project at some point. I would recommend worrying about the maintainability and readability of your program instead of optimizing prematurely, but if you find that you are at a point where you want to decrease your bundle size, read on!
For the sake of this example I will be using create-react-app but in theory the same technique would apply to your project so long as you are using Webpack.
Let’s get this thang started!
Step 1: Create An Application.
Huge shoutout to the create-react-app team for providing such a wonderful boilerplate. If you do not have create-react-app installed globally, you will have to do that first using either:
- npm install -g create-react-app
OR
- yarn global add create-react-app.
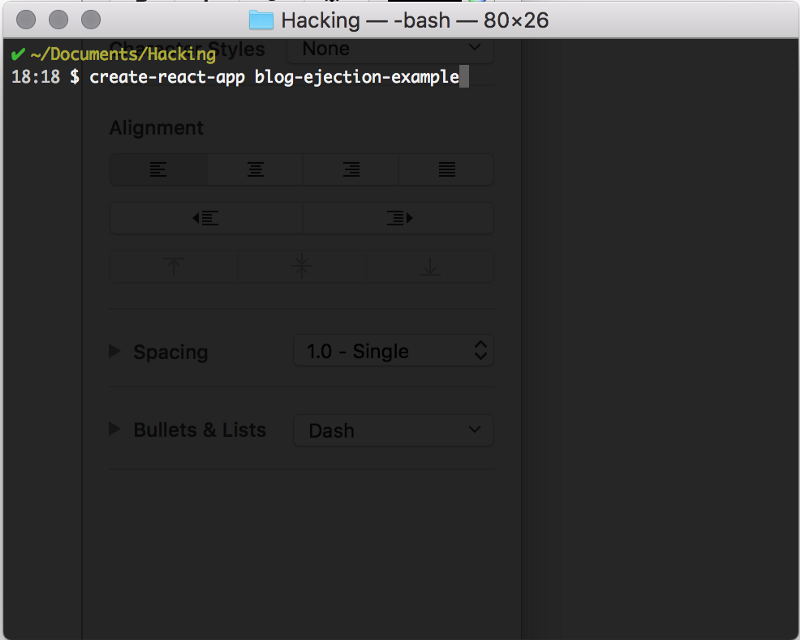
For the rest of this example, I will be using Yarn. Now that we have create-react-app available in our terminal, create a new application using the command shown above (create-react-app “application-name”)!
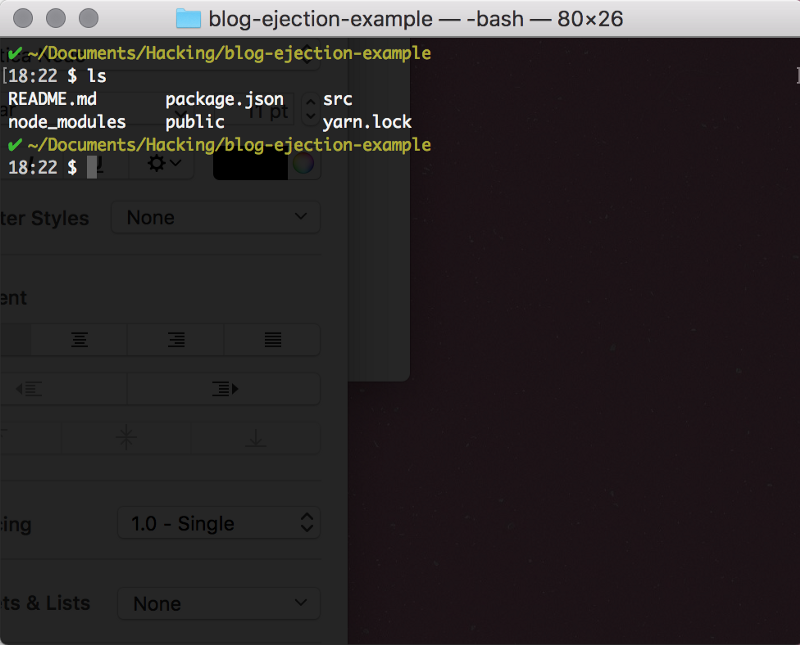
After your application is created, make sure to cd into the directory and your file tree should look similar to this:
Step 2: Eject From Create-React-App.
What I’m about to ask you to do is scary for most newish developers (such as myself). Ejecting can be frightening, simply because it can not be undone. You may be scared that you will ruin the Webpack configuration, or that you will break your application some other way, and be doomed for eternity.
The reality is that, so long as you don’t go fiddling with the configuration folder, everything will work just as it did before. You can still run “yarn build”, “yarn start” etc. and it should still function as you would expect.
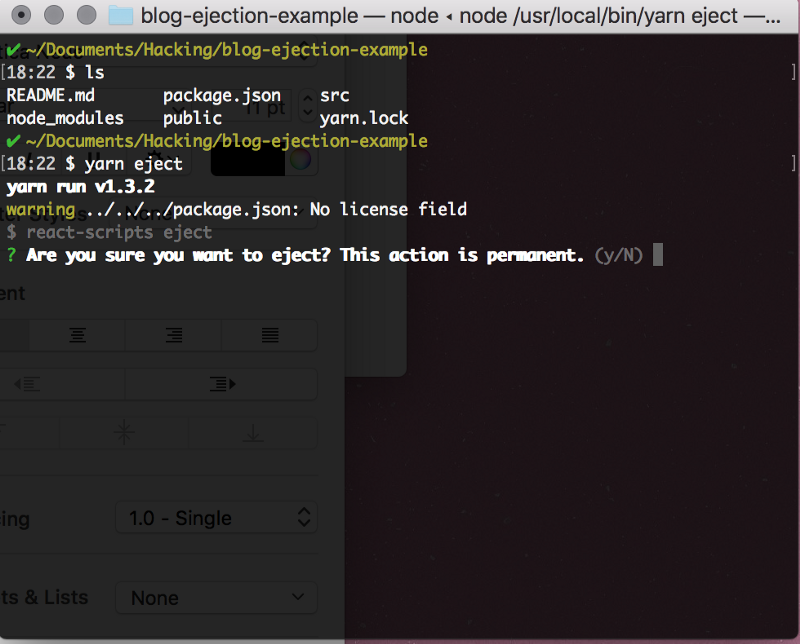
In order to eject your application, run “yarn eject” as seen above.
DO NOT FEAR!
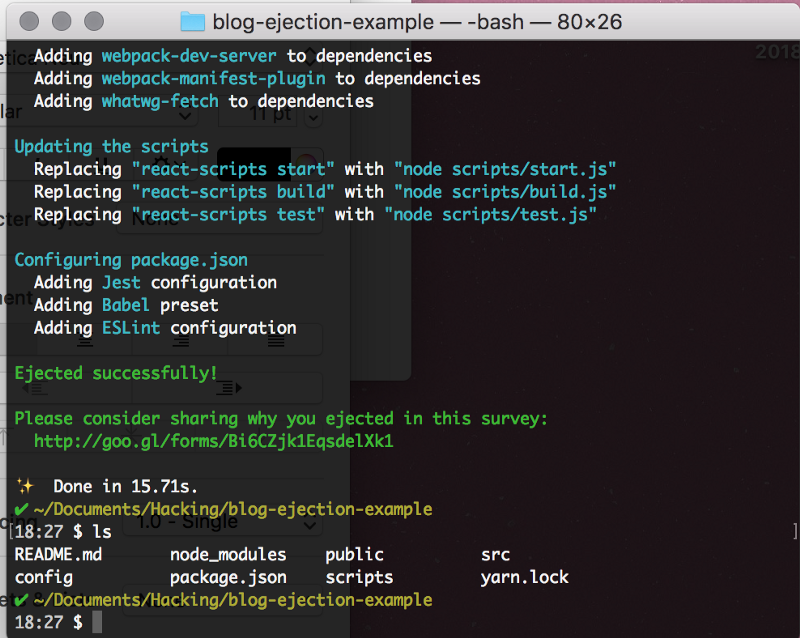
After ejecting, your file tree should now look like the screenshot above. You will notice that you now have access to the “config” folder as well as “scripts”.
Step 3: Install Preact and Preact Compat.
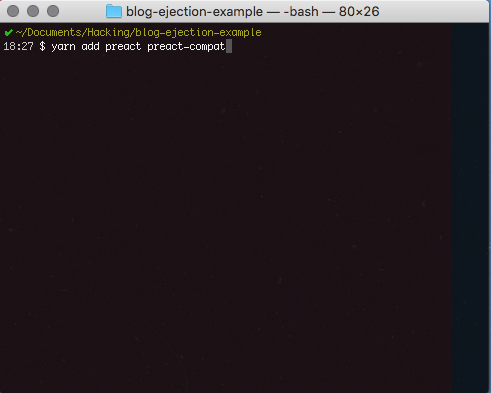
Ok, so this step might add a few lines of code to your package.json file which might make my title slightly inaccurate, alas, these two packages are going to allow us to pull off some serious webpack voodo. Preact is a library which has a similar API to React but is only 3KB large. 3KB.
Imagine if only we could convert our compatible code to Preact!
This is where preact-compat comes in. As you will see, it does exactly that and it is GLORIOUS.
Now that we have added these modules, we will run a test build to peep the size of our bundle. This is before making any changes to the Webpack configuration and it is as simple as running the command “yarn build”.
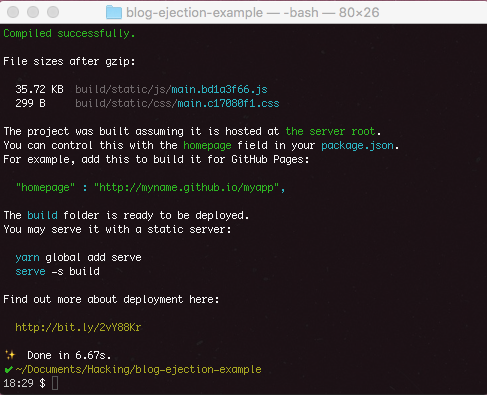
As you can see in the picture above, the gzipped bundle is all of 35.72 KB. This is not very large and it is hardly worth optimizing, but let’s pretend that this is an application that you have made significant contributions to and that you are at a point where you want to save as much space as possible.
This is where the magic happens.
Step 4: Update the Webpack Configuration.
I promised you three lines of code, and three lines of code we shall write (or copy/paste from the preact-compat documentation). You should make sure that you are in your production Webpack configuration file and not your development file.
Look through the file until you find the “alias” property and insert the code shown below.
"alias": {
   "react": "preact-compat",
   "react-dom": "preact-compat",
   // Not necessary unless you consume a module using `createClass`
   "create-react-class": "preact-compat/lib/create-react-class",
Step 5: Be Amazed.
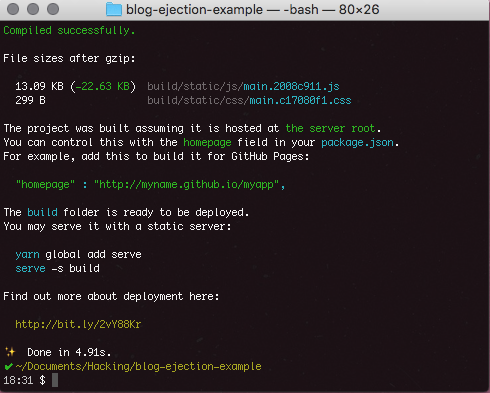
Your eyes are not fooling you.
I am not good with photoshop.
We really decreased our bundle size by a whopping 63%. Not only that, but the website still works as it should.
I will not pretend to fully understand what is happening under the hood here, but it is undeniable that this has some serious performance implications.
What a time to be alive.
If you’re passionate about Front End development, check out the JavaScript Works job-board here!

WorksHub
Jobs
Locations
Articles
Ground Floor, Verse Building, 18 Brunswick Place, London, N1 6DZ
108 E 16th Street, New York, NY 10003
Subscribe to our newsletter
Join over 111,000 others and get access to exclusive content, job opportunities and more!